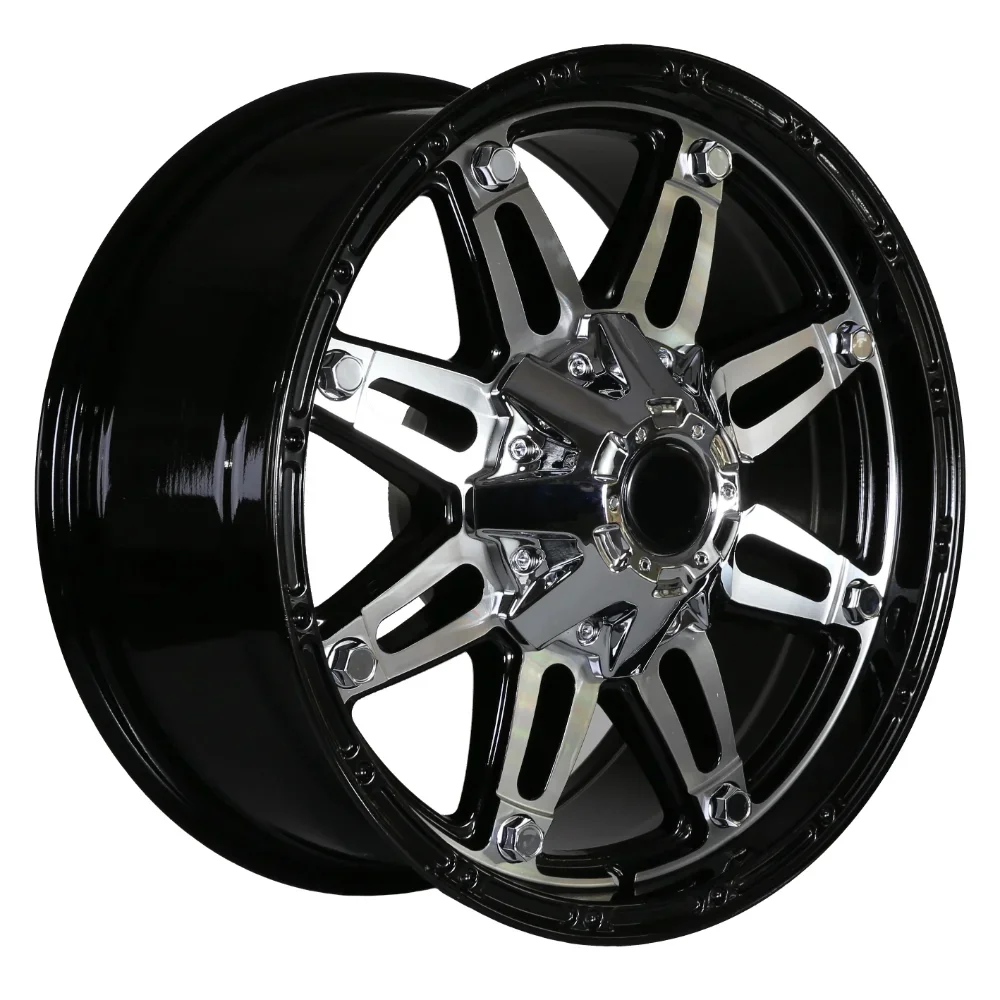
Upgrading your vehicle's wheels can significantly enhance its appearance and performance. One popular choice among car enthusiasts is the installation of aluminum alloy wheels. These wheels not only add a touch of elegance but also improve handling and fuel efficiency. In this comprehensive guide, Ouya will walk you through the step-by-step process of installing 18-inch silver aluminum alloy wheels for sale on your vehicle.
Step 1: Gather the necessary tools and materials
Before you begin the installation process, it's essential to gather all the tools and materials you'll need. These typically include a jack, jack stands, lug wrench, torque wrench, wheel spacers (if required), and, of course, the 18-inch silver aluminum alloy wheels.
Step 2: Prepare your vehicle
To ensure a smooth installation process, it's crucial to prepare your vehicle properly. Start by parking on a flat surface and engaging the parking brake. If your vehicle has wheel locks, locate the key and keep it handy. Additionally, consult your vehicle's manual to determine the appropriate jacking points.
Step 3: Loosen the lug nuts
Using a lug wrench, carefully loosen the lug nuts on the existing wheels. It's important to do this while the vehicle is still on the ground to prevent the wheels from spinning. However, avoid fully removing the lug nuts at this stage.
Step 4: Lift the vehicle
Using a jack, lift the vehicle until the wheels are off the ground. Place jack stands under the vehicle to ensure stability and safety. Double-check that the vehicle is securely supported before proceeding.
Step 5: Remove the existing wheels
With the vehicle lifted and secured, you can now fully remove the lug nuts and take off the existing wheels. Place them aside in a safe location, as they may be reused or sold.

Step 6: Install wheel spacers (if necessary)
In some cases, wheel spacers may be required to ensure proper fitment of the 18-inch silver aluminum alloy wheels. If your vehicle requires wheel spacers, carefully install them according to the manufacturer's instructions before proceeding to the next step.
Step 7: Mount the new wheels
Carefully align the 18-inch silver aluminum alloy wheels with the wheel studs and slide them onto the hub. Ensure that the wheels are properly seated and flush against the hub. Once in place, hand-tighten the lug nuts to hold the wheels securely.
Step 8: Torque the lug nuts
Using a torque wrench, tighten the lug nuts in a star pattern to ensure even distribution of torque. Refer to your vehicle's manual or the wheel manufacturer's specifications for the recommended torque value. It's crucial not to over-tighten the lug nuts, as this can lead to damage.
Step 9: Lower the vehicle
Once the lug nuts are properly torqued, carefully lower the vehicle using the jack. Remove the jack stands and lower the vehicle until it is resting on the ground. Give the vehicle a gentle shake to ensure the wheels are securely attached.
Step 10: Double-check and finalize
After lowering the vehicle, double-check the lug nuts' torque to ensure they are still properly tightened. Take a moment to inspect the wheels for any signs of imbalance or misalignment. If everything looks good, you have successfully installed your 18-inch silver aluminum alloy wheels!
Conclusion:
Installing 18-inch silver aluminum alloy wheels can be a rewarding project that enhances both the aesthetics and performance of your vehicle. By following this step-by-step guide, you can confidently tackle the installation process and enjoy the benefits of your new wheels. Remember to exercise caution, refer to your vehicle's manual, and seek professional assistance if needed. With the right tools and a little patience, you'll be cruising in style with your newly installed 18-inch silver aluminum alloy wheels.
https://www.ouyawheel.com/How-to-install-18-inch-finish-sliver-aluminum-alloy-wheel.html
Ouya
davidxu@ouyawchina.com
